


As winter blankets our landscapes with a layer of snow, the importance of efficient snow plow installation cannot be overstated. Whether you’re a seasoned professional or a first-time user, the key to effective snow removal lies in the proper set-up of your plow.
A plow for every need
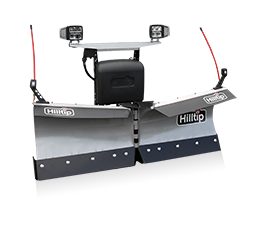
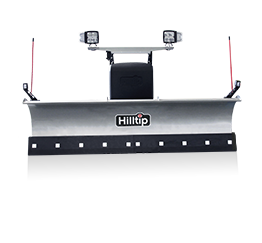
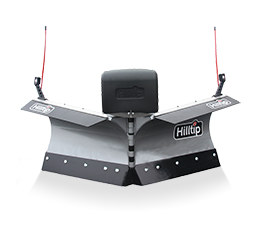
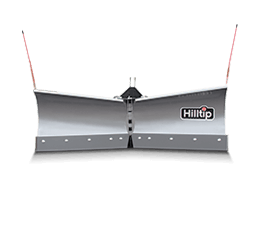
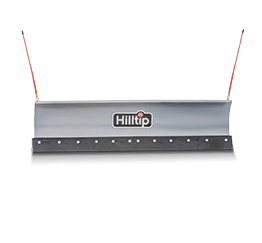
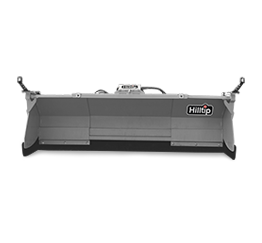
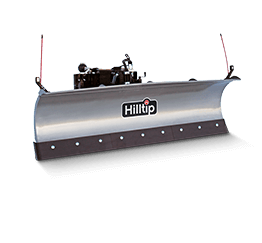
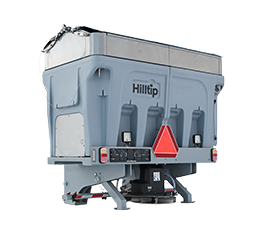
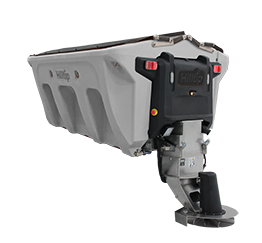
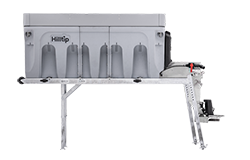
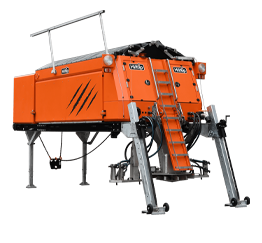
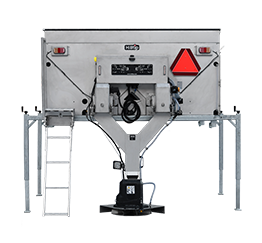
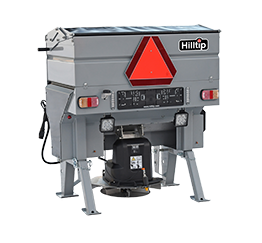
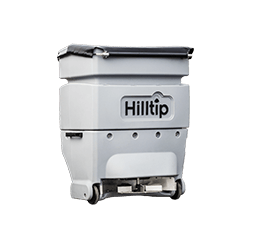
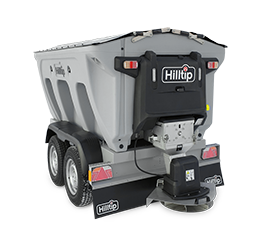
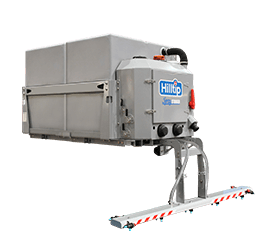
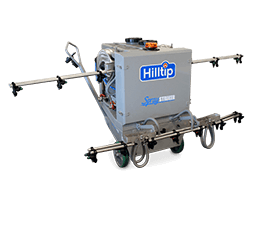
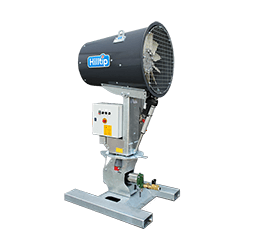
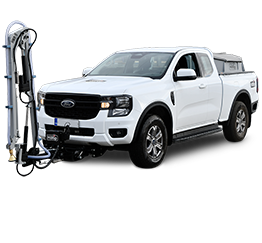
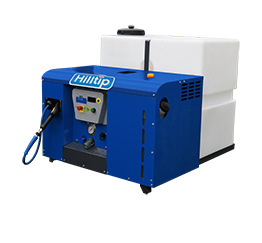
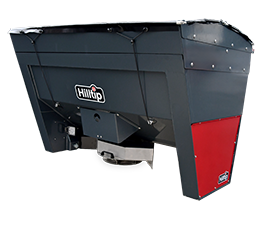
Snow plows come in various shapes and sizes to meet the diverse needs of users. Hilltip caters to this demand with a comprehensive range of plows designed for both pickups and trucks. From the lightweight and maneuverable models ideal for residential use to the heavy-duty options tailored for commercial applications, all snow plow models have electrohydraulic control. Hilltip ensures that every user finds the perfect fit for their specific requirements.
Installing your snow plow, step-by-step
Installing a Hilltip snow plow is a straightforward process, but it’s recommended to be done by an experienced mechanic. This will guarantee a hassle-free winter experience. Follow this step-by-step guide for a seamless installation:
- Prepare Your Vehicle:
Before you start, ensure that your truck or pickup is on level ground. Safety is paramount, so engage the parking brake. - Assemble the Plow Components:
Lay out all the components of your Hilltip snow plow installation kit. Refer to the comprehensive user manual for guidance on identifying each part. - Mount the Plow Frame:
Attach the plow frame to the front of your vehicle frame using the provided mounting brackets. Install the pushbeam to the height recommendations found in the manual. Tighten all bolts securely. - Install vehicle side electrical harness:
The installation kit includes a vehicle-specific light module as well as light adapters together with the vehicle side harness. Install these according to the instructions in the manual. Always follow the instructions provided by Hilltip for a fail-safe connection. - Attach the Plow Blade:
With the frame and electrical harness in place, attach the plow blade to the frame. Adjust the angle and height settings according to your desired snow removal specifications. - Double-Check Connections:
Before your first use, double-check all connections to ensure they are secure. Remember to always keep the electrical connectors with dielectric grease. Hilltip’s commitment to quality guarantees a snug fit, providing peace of mind during operation.
And Remember – Safety First
During installation, prioritize safety to prevent accidents and ensure a smooth snow removal experience. Hilltip snow plows are equipped with safety features, such as secure mounting systems and intuitive controls. Follow these additional safety precautions:
- Protective Gear: Wear appropriate safety gear, including gloves and safety glasses, to safeguard yourself during the installation process.
- Follow Guidelines: Adhere strictly to the instructions outlined in Hilltip’s user manual. This ensures a secure installation and optimal performance.
Maintenance Tips
To maximize the lifespan and performance of your Hilltip snow plow, follow these maintenance tips:
- Regular Inspections: Periodically inspect all components for signs of wear or damage. Address any issues promptly to prevent further damage.
- Lubrication: Keep moving parts well-lubricated to ensure smooth operation. Hilltip plows are designed for minimal maintenance, but a little care goes a long way.
Ready to conquer winter with a Hilltip snow plow? Visit our product page for detailed product information and specifications. Explore the range of high-quality, durable snow plows that guarantee unmatched performance in the face of winter’s challenges. Don’t let snow slow you down – get in touch with Hilltip today and elevate your snow removal game!